Project to Data Product
Project to Data Product helps you convert an existing project into a Data Product in the Momentum platform using Metis.
From the Infrastructure Projects, you can start the migration for an existing project. Metis uses the project's context to analyze the project, prepare the required Data Product changes, and create a merge request for review.
Migration Overview
The Project to Data Product flow consists of the following steps:
- Select a project from Infrastructure Projects and select Migrate to data product to start the flow.
- Metis starts the AI assistant, prepares the project context, and analyzes the project to identify the changes required to create a Data Product.
- Review the generated changes and provide additional instructions if required.
- Select Finish and open MR to apply the changes and create a merge request, then review the generated changes.
- Review the pipeline created for the Data Product changes and verify that it completes successfully.
- Open the generated Data Product to review the result and verify it in the Data Product Registry.
Step 1: Select a Project
Open Infrastructure > Projects to view the available projects.
Each project provides a Migrate to data product action. Select the action for the project you want to convert.
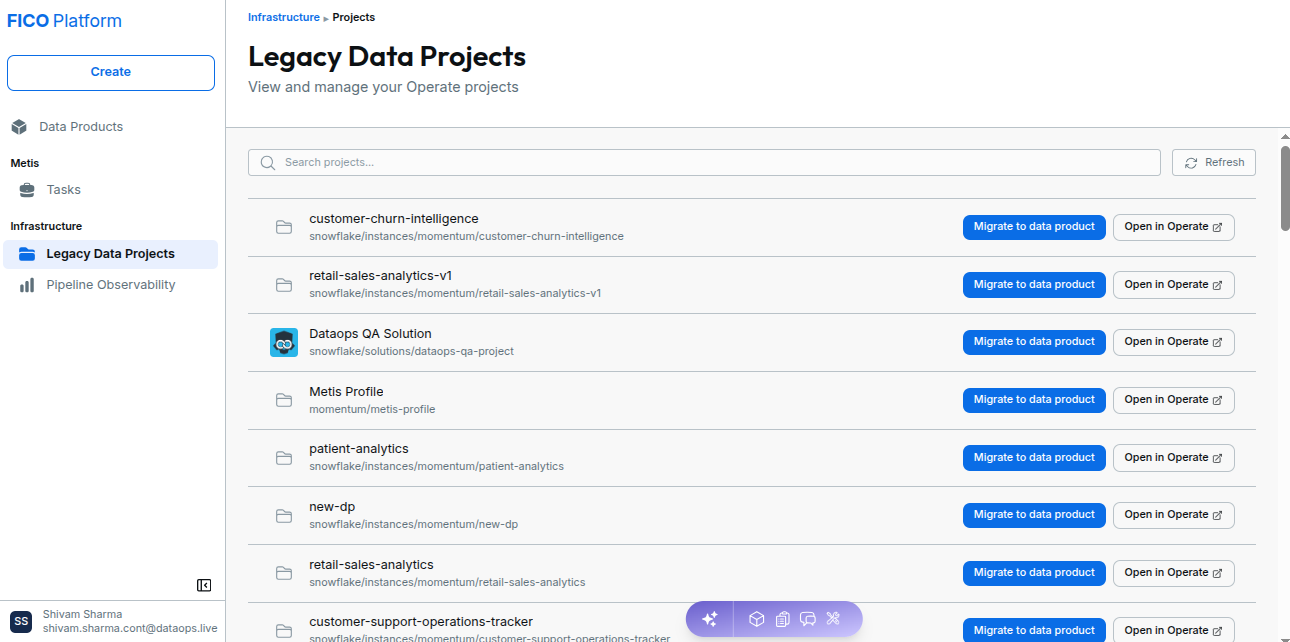
Make sure you select the project you want to convert before starting the migration. The migration runs in the context of the selected project.
Step 2: Start the Migration
After the migration starts, Metis opens the AI assistant and begins preparing the migration.
The assistant shows progress while it:
- Starts the AI assistant.
- Prepares a session with the full project context.
- Sends the request to the Metis agent.
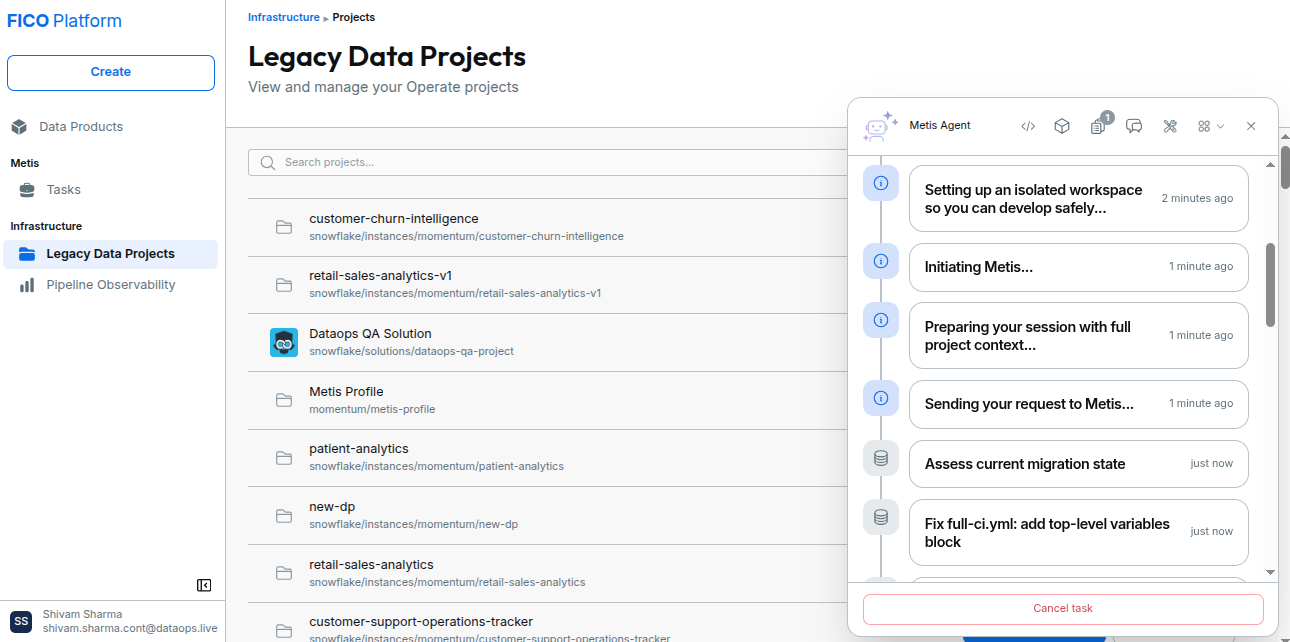
Once the project context is prepared, Metis analyzes the project to determine the changes required to convert it into a Data Product.
Step 3: Review the Generated Changes
After analyzing the project, Metis presents the generated changes in the assistant panel.
The generated changes can include updates to the project's CI/CD and workspace configuration and the creation or update of Data Product configuration files.
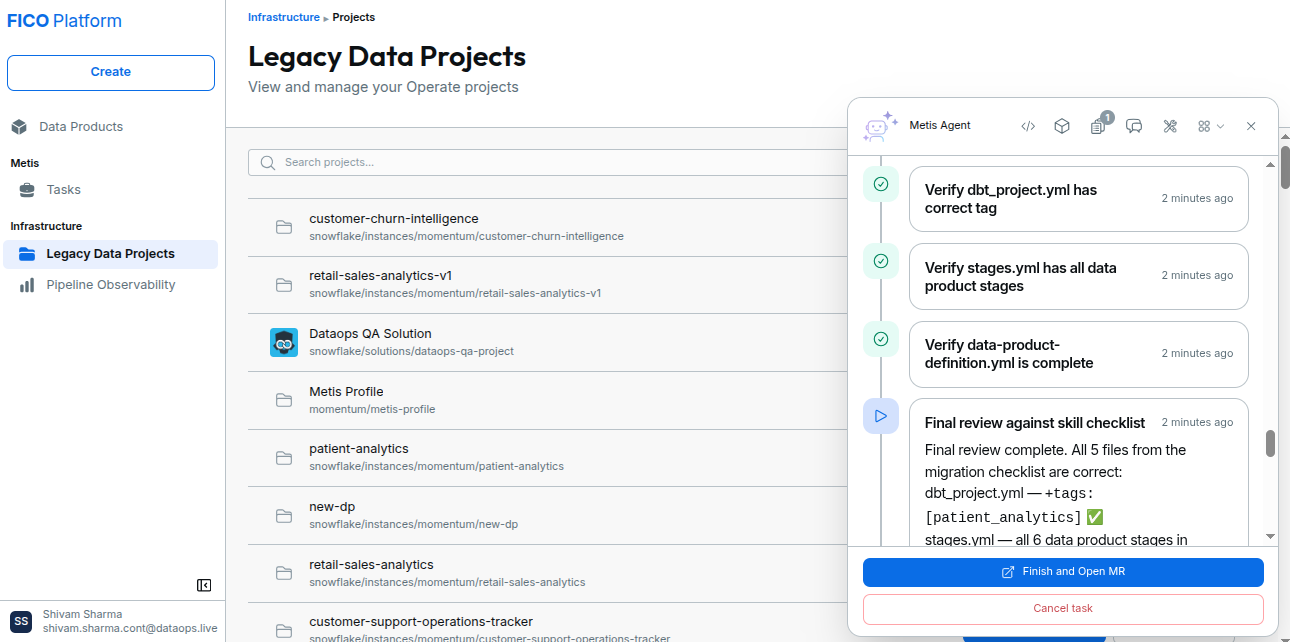
Review the generated changes carefully. If additional changes are required, provide further instructions to Metis before running the migration.
Step 4: Create and Review the Merge Request
When you are satisfied with the generated changes, select Finish and open MR.
Metis applies the proposed changes and creates a merge request for review.
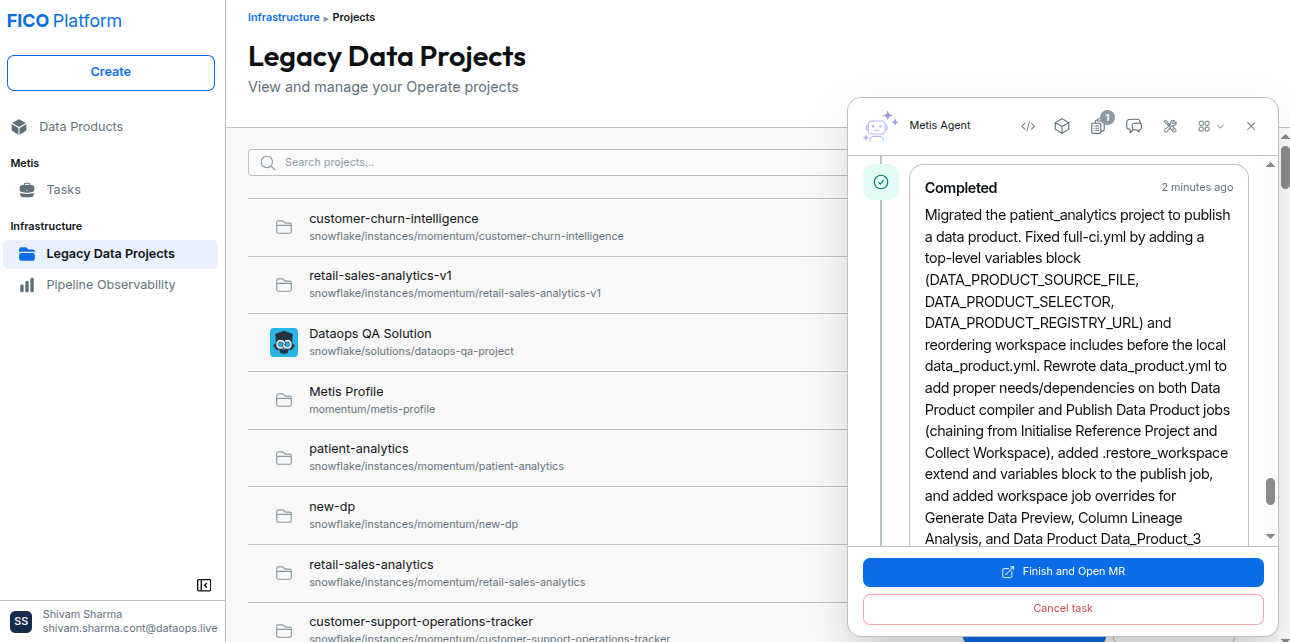
Review the Merge Request
Open the generated merge request and review the changes before proceeding.
The merge request includes the changes generated by Metis, along with a summary of the Data Product-related changes.
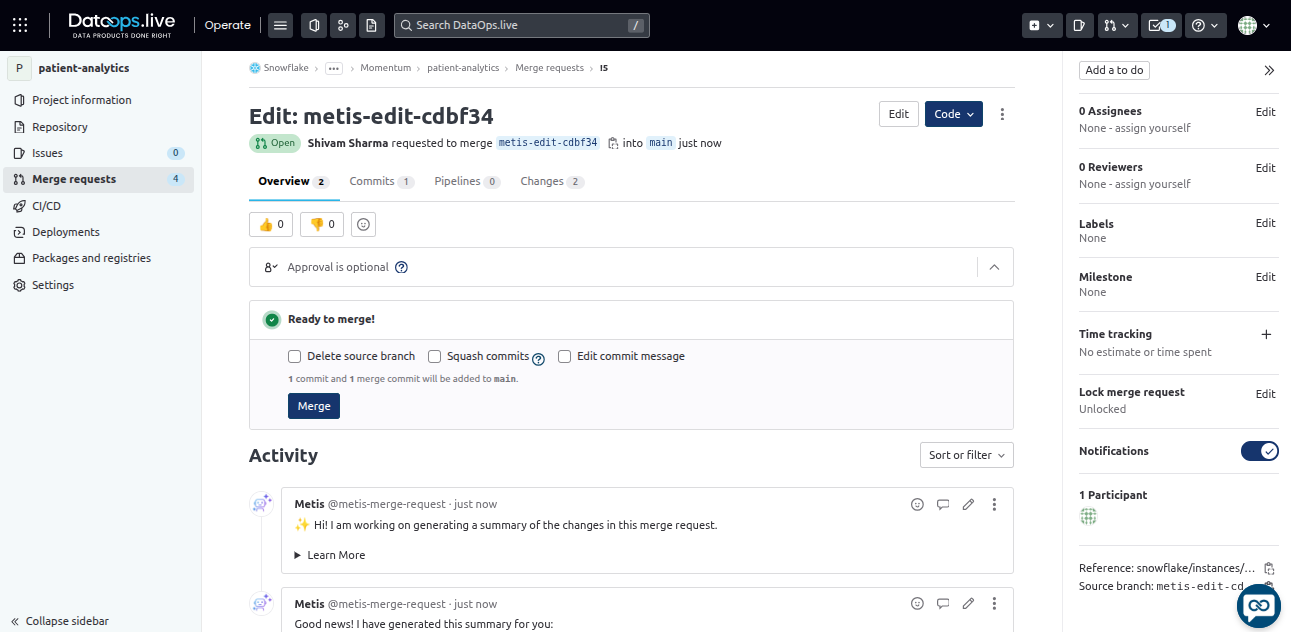
Step 5: Validate the Data Product Pipeline
After the changes are submitted, a CI/CD pipeline is triggered to process the Data Product changes.
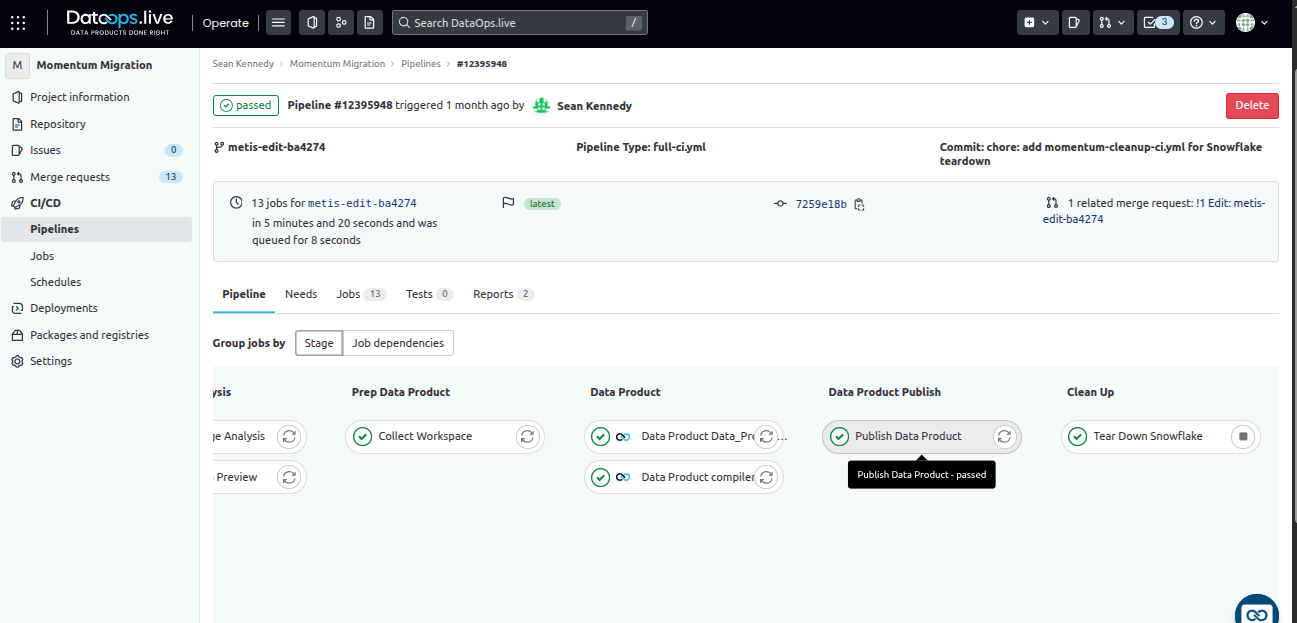
Review the pipeline status to confirm that the required stages complete successfully.
Step 6: Review the Generated Data Product
After the pipeline completes successfully, open the generated Data Product to review the generated model and data. The project name is used as the Data Product name during the migration.
You can review areas such as presentation tables, intermediate tables, the data model graph, and test results.
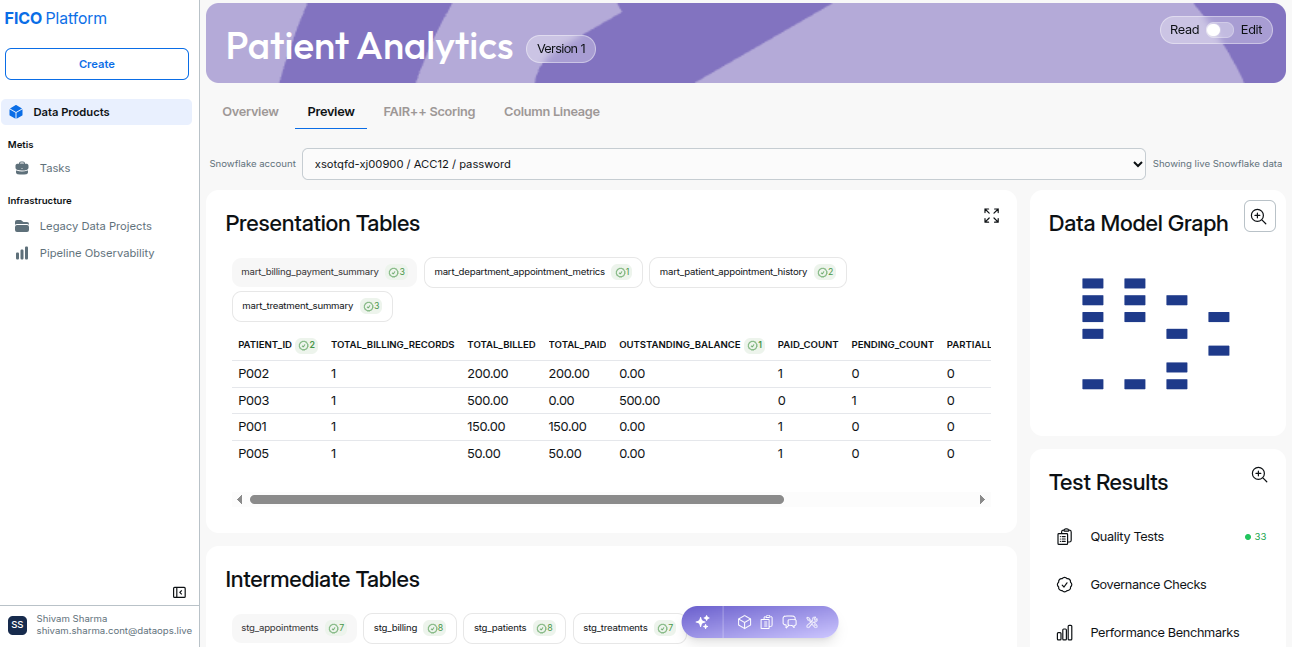
Review the generated Data Product to confirm that the expected data, configuration, and Data Product name have been created correctly.
Step 7: Verify the Data Product in the Registry
The generated Data Product is available in the Data Product Registry.
Open the registry to browse and manage the Data Product after the migration has completed.
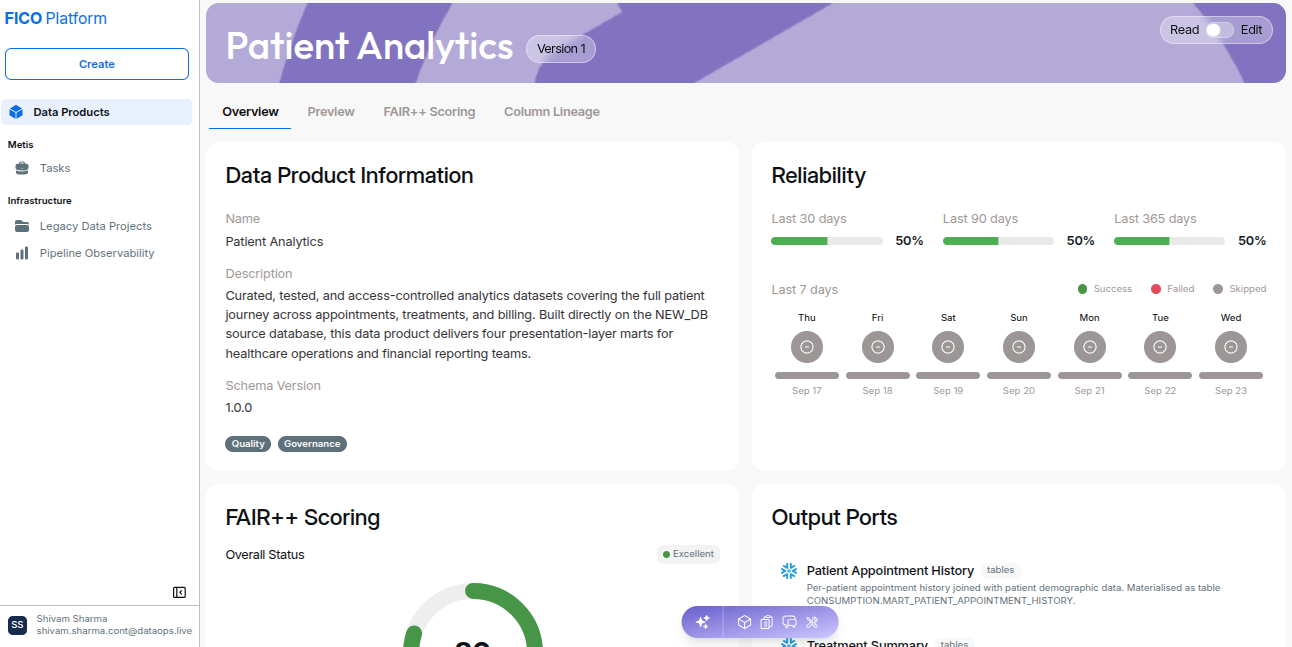
Use the Data Product Registry as the final verification point to confirm that the Data Product has been successfully created and is available for use.