Automated CI/CD Quickstart Guide
In this section, you will learn how to set up CI/CD for your Snowflake objects in an easy way. Once it is up and running, you will manage Snowflake objects in a Git-like environment while CI/CD automates your testing and deployment.
Note: For current enterprise customers, this automated CI/CD flow only works if your environment includes a runner named dataops-runner.
Step 1. Define CI/CD configuration
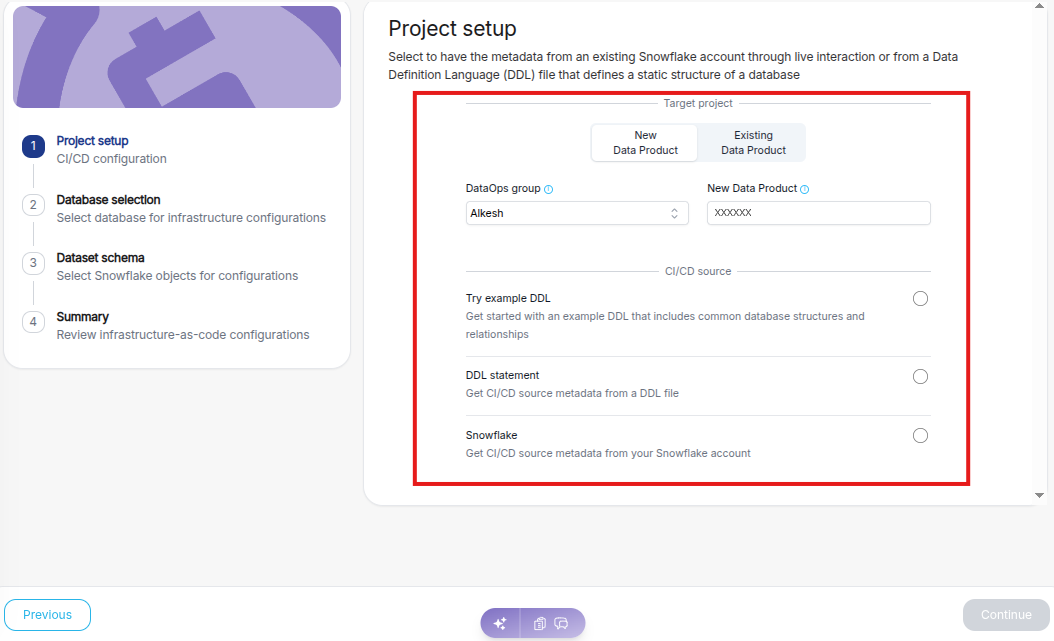
In this step, you will set up the CI/CD configuration and choose where your metadata comes from.
-
Under the "DataOps group", start typing the name of an existing DataOps group to see matching options. Each group lives within your customer account and includes projects and subgroups.
-
For the "Data Product" field:
- Creating a new data product? Enter a new name.
- Updating an existing one? Type the existing name and select it from the drop-down list.
-
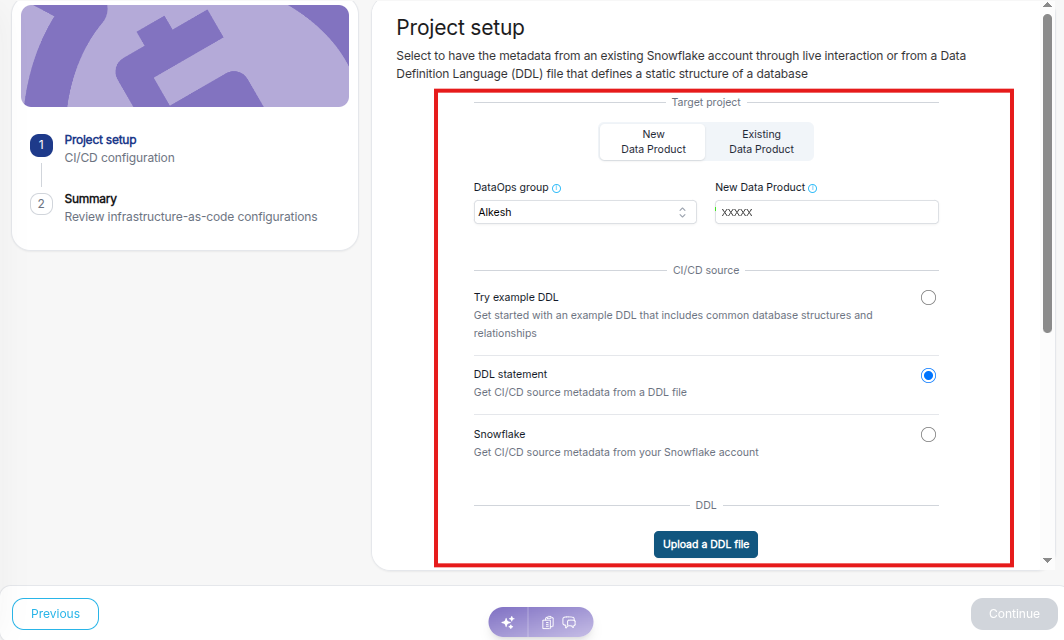
Select CI/CD source type:
- Try example DDL: Use a system-provided sample DDL to quickly explore the setup process. This option helps you understand the typical database structure and relationships before working with real data.
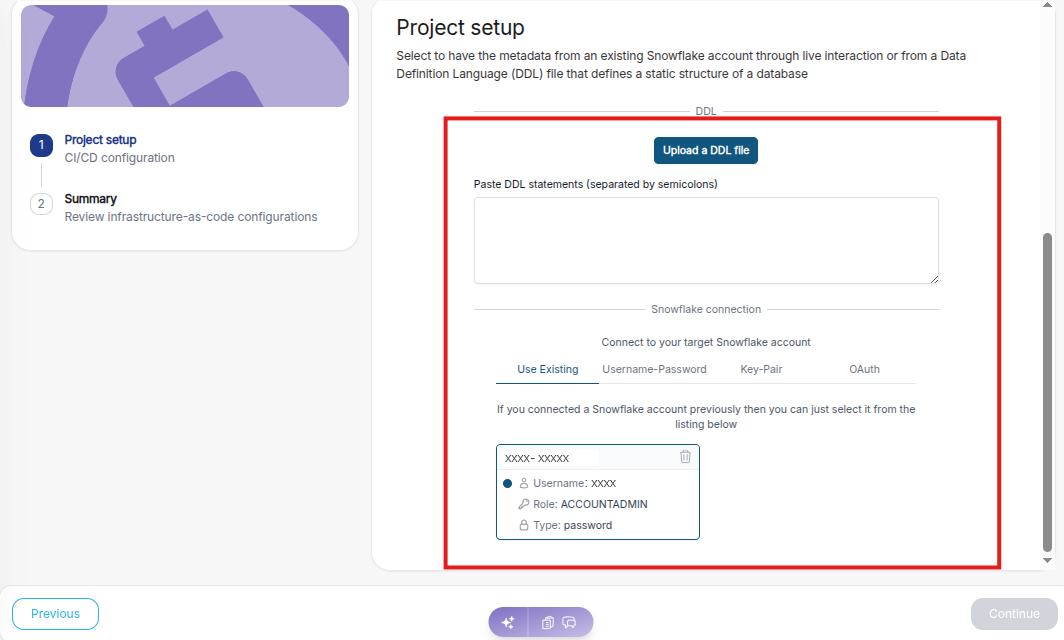
- DDL Statement: Upload a static Data Definition Language (DDL) file. Use this option if you’re working with a custom predefined database structure.
- Snowflake: Pull metadata directly from your connected Snowflake account to automatically configure the project (recommended).
Finally, enter the login credentials for the Snowflake account where the required objects reside.
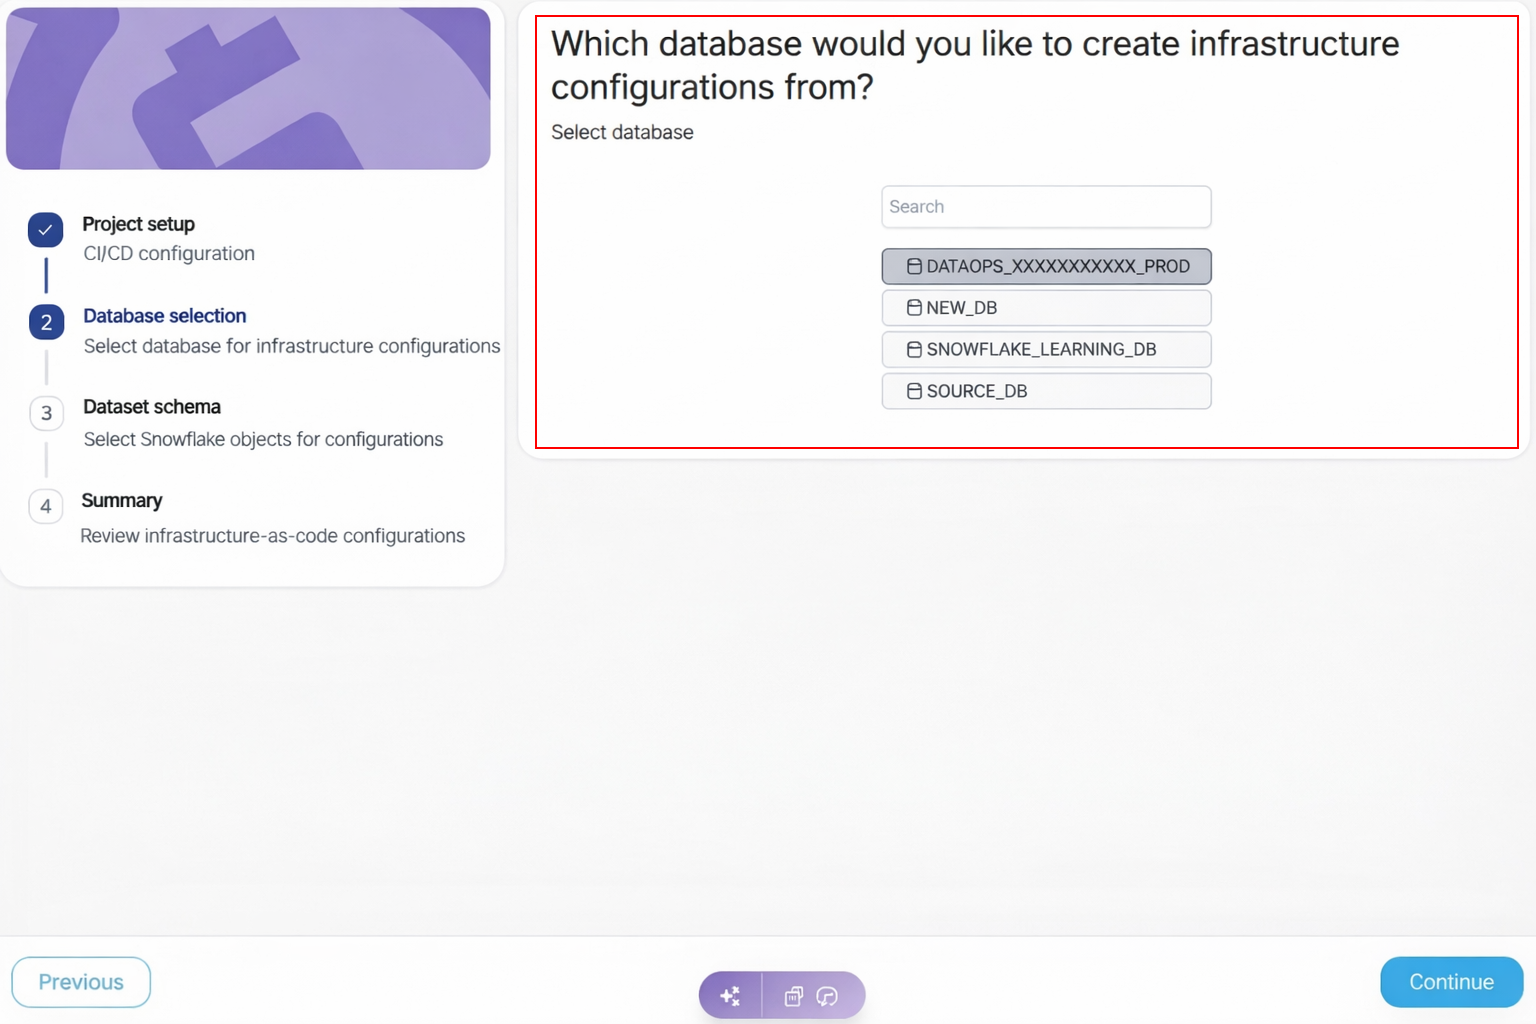
Step 2. Database selection
This step defines the data source for your infrastructure setup.
- Select a Snowflake database from your connected account when prompted.
- The platform pulls metadata from this database to automatically create the configuration files in the next step.
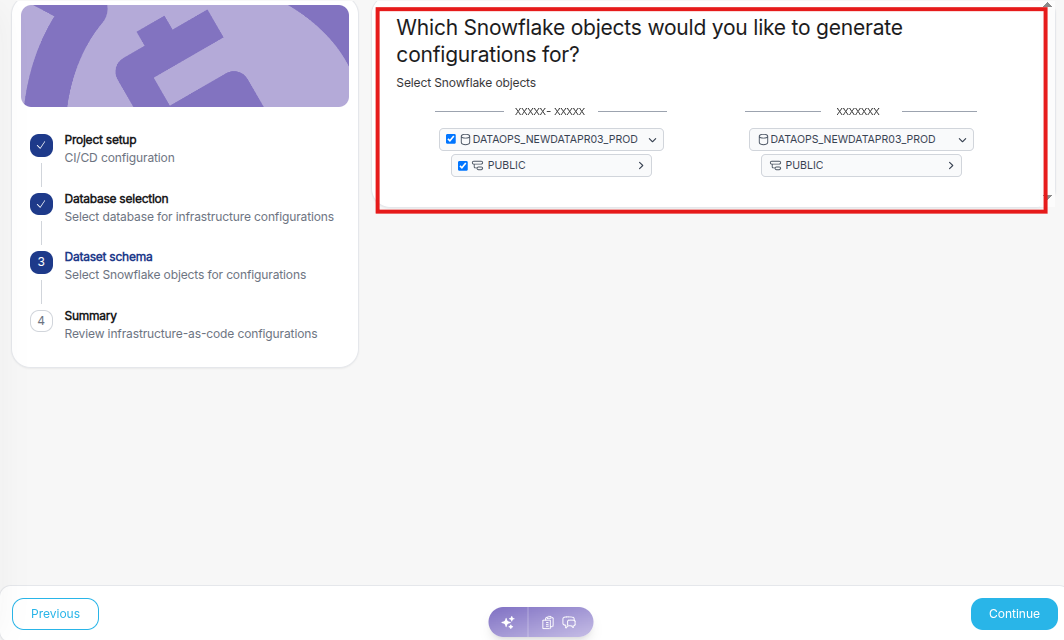
Step 3. Select the dataset schema
Select the Snowflake objects for which you want to generate infrastructure-as-code configurations (YAML or JSON files), then click "Continue."
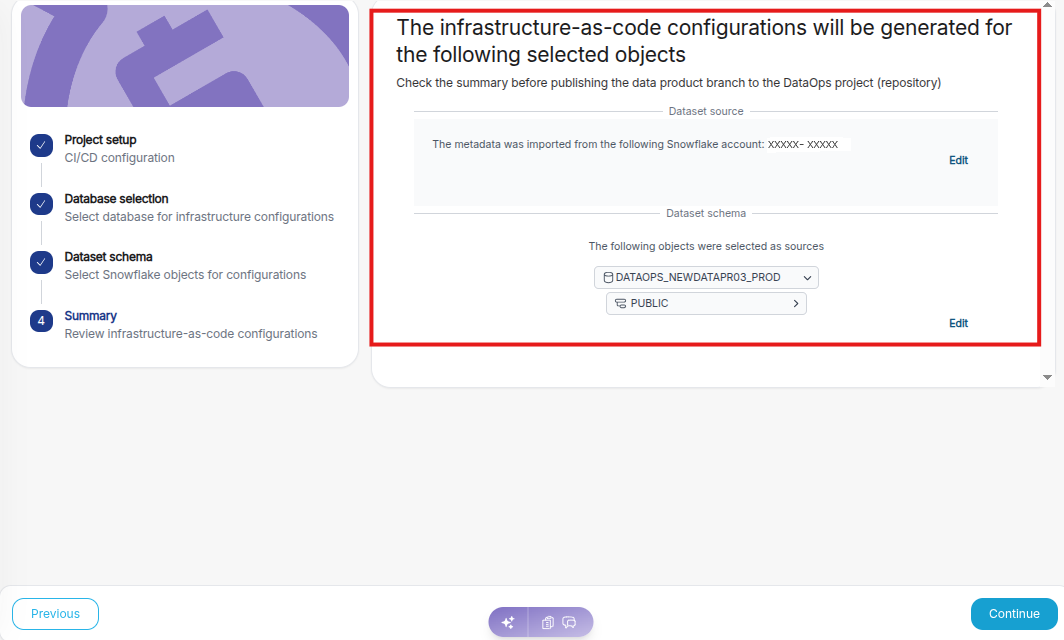
Step 4. Review the summary
Review the generated infrastructure-as-code configurations for the selected objects. If the configuration is correct, click “Continue” to proceed with the created setup. If you need to modify any details, click “Previous” to return to the earlier steps and make the necessary changes.
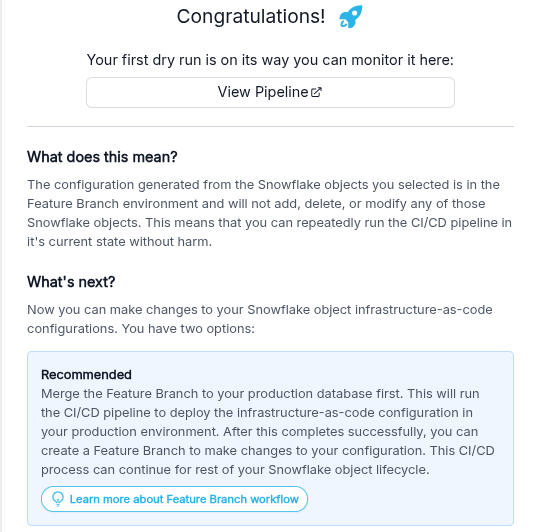
Next, you will see the “Dry run” option – click it to review your setup before moving forward.
Finally, you’ll land on the Summary page. Click “View Pipeline” to explore the pipeline runs and jobs that generated your config files and set up your environment.
Scroll to the bottom and click “Open Develop” to launch the built-in web IDE. However, if you prefer working locally, clone the repo like any other Git project and use your own IDE.
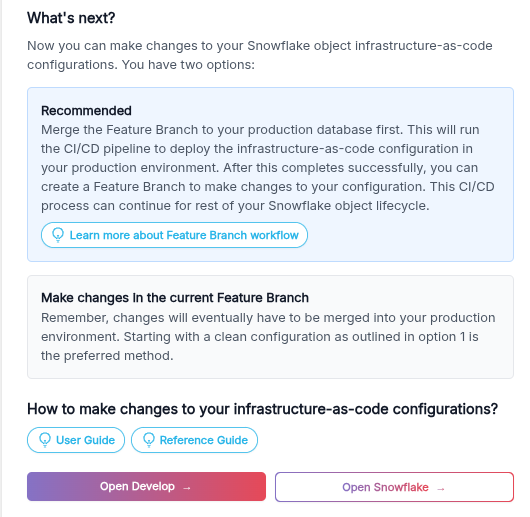
That's it, you can start developing or testing your Snowflake objects with CI/CD capabilities.