Get DataOps.live Dynamic Delivery from Snowflake Marketplace
Follow these steps to install and activate DataOps.live Dynamic Delivery for CI/CD inside Snowflake.
- Install DataOps.live Dynamic Delivery from Snowflake Marketplace
- Allow the app to connect to external access integration (EAI)
- Launch the app
Install Dynamic Delivery from Snowflake Marketplace
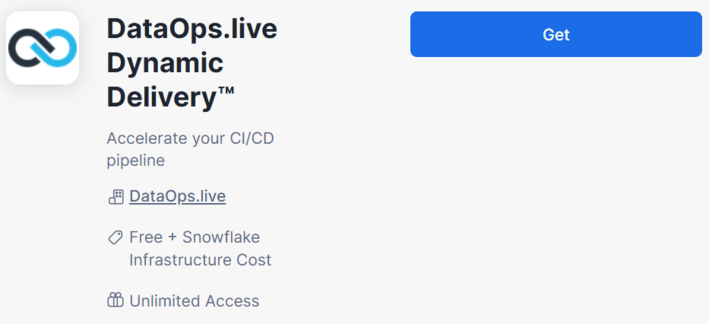
Step 1: Visit the DataOps.live Dynamic Delivery listing on the Snowflake Marketplace and click "Get".
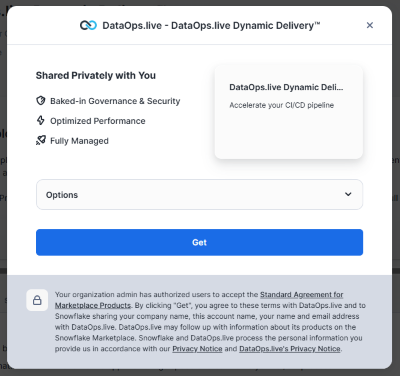
Step 2: A popup window will appear, click "Get" again to confirm the installation.
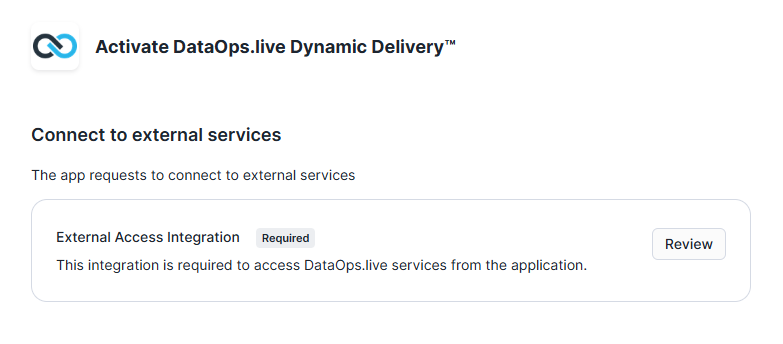
Connect to External Access Integration (EAI)
The Dynamic Delivery requires External Access Integration (EAI) to enable seamless communication between DataOps runners, pipeline jobs, and Snowflake.
When you click Review and Connect, the app automatically sets up an access integration with the following endpoints: _.dataops.live and _.qa.dataops.live, which enable DataOps.live runners to interact with the DataOps.live platform. Additionally, <snowflake_identifier>.snowflake.computing.com (your Snowflake account URL) is pre-configured.
While the default network rules cover essential connections, you can create new network rules for additional endpoints (such as AWS S3 or Google Cloud Storage) and add them to the EAI.
Note: Please ensure that the default network rule that allows access to app.dataops.live is not removed when attaching new endpoints.
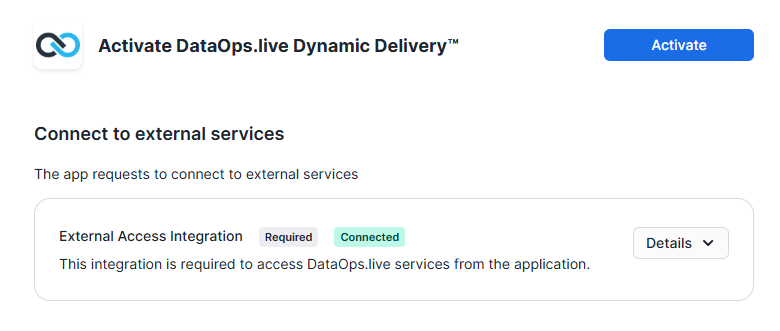
Launch the app
Once EAI is connected, you'll see the Activate screen. Click "Activate" and launch the app.
That's it, Dynamic Delivery is at your fingertips.