Tips and Tricks in DataOps.live Develop
DataOps development environment
Switch to a new feature branch
When switching to a new feature branch, the corresponding branch database does not yet exist. You must run the pipeline once so that the database is created. Only then will things work as expected, including Modeling and Transformation Engine (MATE) actions.
DevReady
Extract environment variables to import into a different DevReady workspace
Use the below command to output all your saved environment variables in one project's scope in a format that can be copied and pasted to load into a different one.
gp env -e | sed -e 's/export/gp env/'
Delete all stored variables for a given workspace
Use the below command in a DevReady terminal to unset all variables from the local environment and remove them from the persistent storage of DevReady. The shell command allows for a clean start and acts as an environment reset.
gp env | sed -E 's/^(.*)=.*$/\1/g' | xargs gp env -u
DevPod
Accessing credentials
Because the DevPod is simply a container, you can inject credentials in any way you would have for an existing development environment. Here are some ways to get your credentials inside the container.
Loading environment variables from a file
Another way to load credentials into your container is to specify a local file with the environment variables to set.
For example, if you create a .env file inside the .devcontainer folder, you can use it to set environment variables available anywhere inside your container. This file can be located wherever you like on your computer. We recommend placing it outside any project repositories to avoid it being pushed remotely so that anyone with access to the project can see it. Alternatively, add an entry to your project's .gitignore file.
{
  "name": "DevPod",
  "image": "dataopslive/dataops-development-workspace:5-stable",
  "runArgs": ["--env-file", ".devcontainer/devcontainer.env"]
}
Mounting local files
If you are developing using a local Docker instance, you can provide Docker run arguments to mount files on your host computer inside the container. For example, you can easily mount your .aws folder to ensure access to local AWS credentials without having to copy them.
To do this, edit your devcontainer.json. The setting you need to add or modify is called mounts. Here is an example of how you can reuse your AWS credentials inside the container.
{
    "mounts": [
        "source=${localEnv:HOME}/.aws,target=/home/gitpod/.aws,type=bind,consistency=cached"
    ]
}
You can use this method for any credentials stored on your host machine.
Variables in the DataOps development environment
There are a few core variables that the DataOps development environment makes available for its own and user scripting purposes:
| Name | Value |
|---|---|
| DATAOPS_BRANCH_NAME_PROD | The name of the branch used for production — defaults to main but can be overridden |
| CI_COMMIT_REF_NAME | The name of the Git branch currently checked out |
| REPO_ROOT | The path to the project folder, for example /workspace/true-dataops22 |
| VS_CODE_SERVER_SETTINGS_PATH | The path to the settings.json folder |
Keeping the workspace image up-to-date
To ensure that the image you are using is always the latest version, you can add an initialize command to your devcontainer.json. This command runs before your container is created. Read more about lifecycle scripts.
{
  "name": "DevPod",
  "image": "dataopslive/dataops-development-workspace:5-stable",
  "runArgs": ["--env-file", "${localEnv:HOME}/.devcontainer/devcontainer.env"],
  "initializeCommand": [
    "docker",
    "pull",
    "dataopslive/dataops-development-workspace:5-stable"
  ]
}
Adding container features
Dev Containers can use "features" to gain extra functionality. VS Code gives you access to an index of these features by using the command palette to add them to your devcontainer.json file.
To add a feature this way, follow these steps. In this example, we are adding "docker-in-docker" as a feature:
-
Open a project containing the
.devcontainer/devcontainer.jsonfile. -
Open the command palette, "Cmd+Shift+P" for Mac and "Ctrl+Shift+P" for Windows.
-
Search for Configure Container Features.
-
Search for Docker-in-Docker.
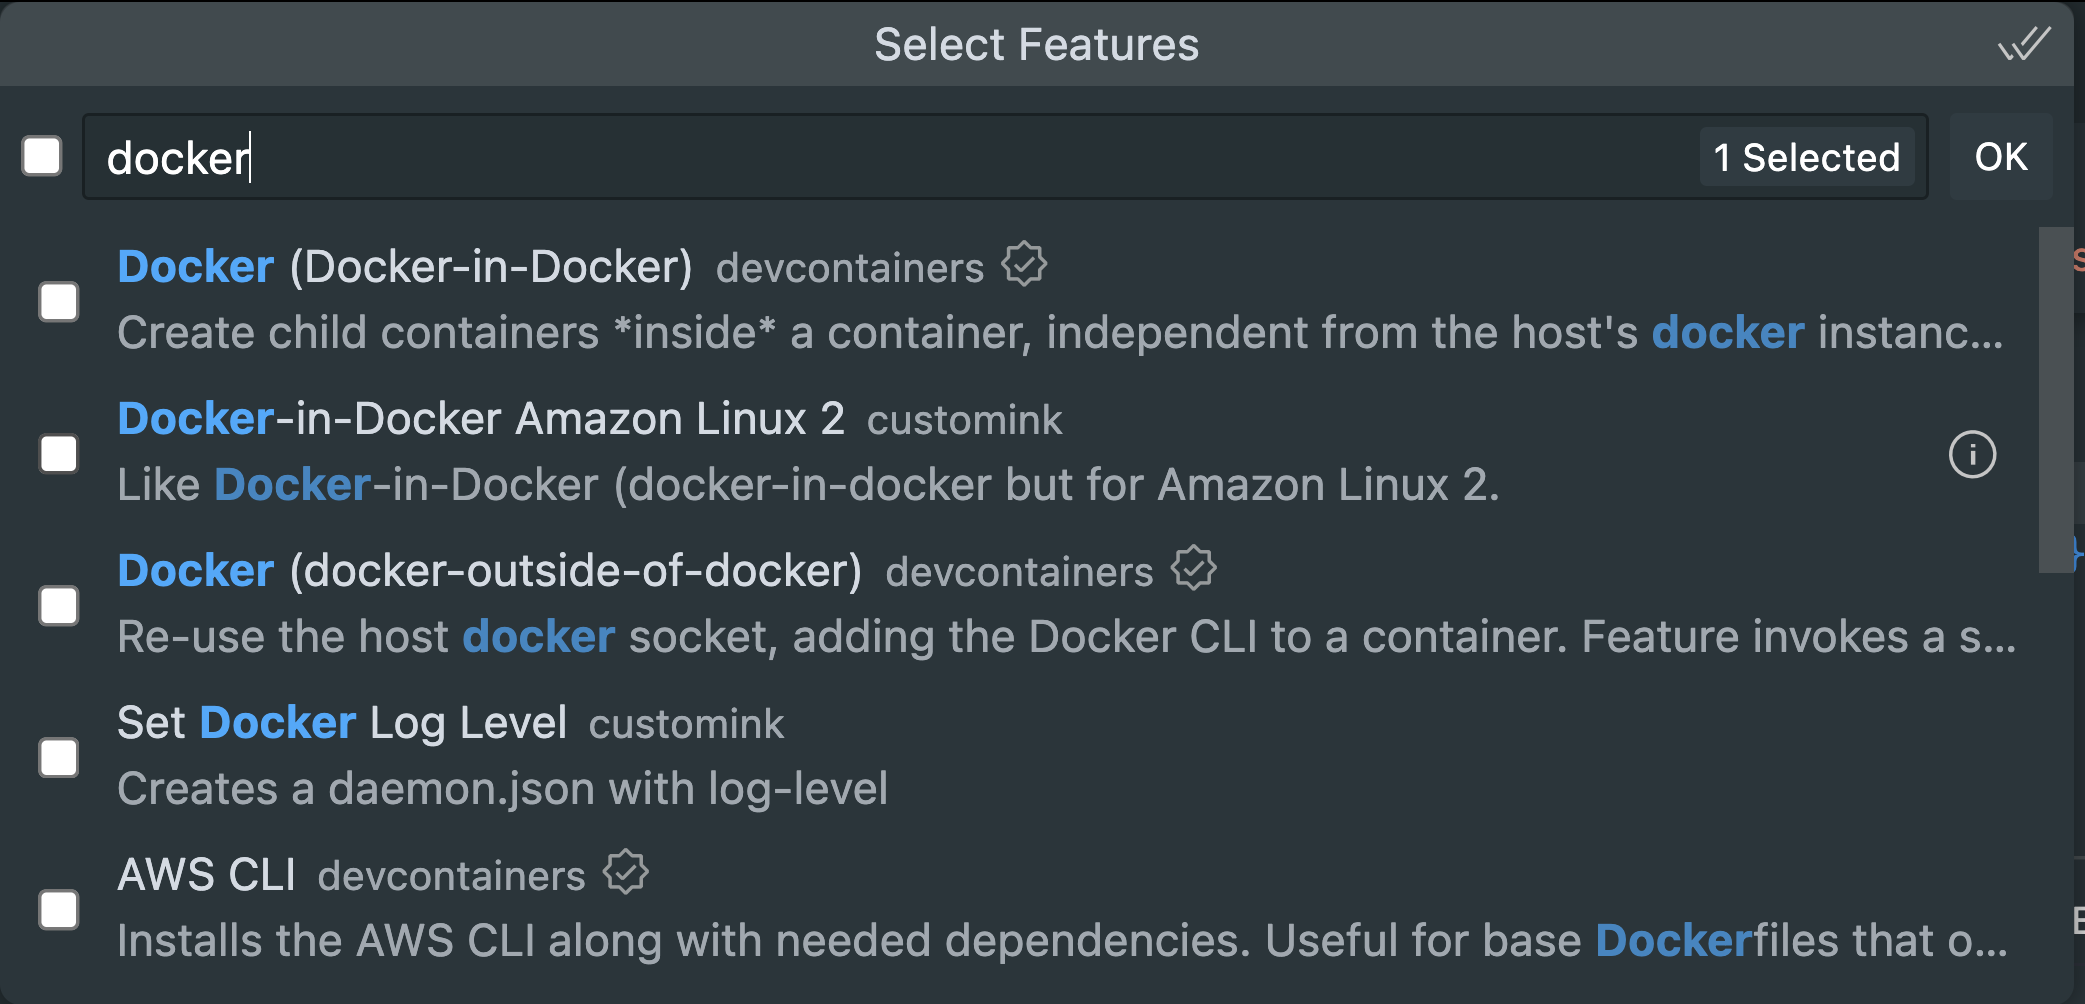
-
Select the check box and click OK.
This should add an entry to your devcontainer.json like this:
"features": {
  "ghcr.io/devcontainers-contrib/features/cookiecutter:2": {}
}