Web IDE
What is Web IDE?
The Web IDE is a code editor running entirely in your browser, allowing you to quickly and safely browse your DataOps projects and make lightweight code changes. You can access it by clicking the Web IDE button from a project within the data product platform.
If you're looking to extend your development beyond just code writing and file editing, the ready-to-code environment DataOps.live Develop offers a set of tools and features to support every stage of the development lifecycle. See DataOps.live Develop for more information.
For quick edits and changes in a single file in your project, you can open the file and select Edit this file only → Edit.
Walkthrough Web IDE
Learn how to navigate and use the Web IDE:
- Open your project on DataOps.live Operate, our data product platform, and click the Web IDE button. Or use the shortcut
.on your keyboard. - Make your changes.
- Navigate to the source control view to review your changes.
- Click Commit to 'main'.
- Select the desired pipeline behavior and confirm the commit.
- Use the status bar to navigate to the pipeline view.
Creating a new branch
To create a branch from the current branch in the Web IDE:
- On the status bar, select the current branch name.
- From the dropdown list, select Create new branch….
- Enter the branch name.
- Press Enter.
Committing changes to a new branch
To commit changes to a new branch in the Web IDE:
- On the activity bar on the left, select Source Control, or press
Control+Shift+G. - Enter your commit message. Or leave it blank to use a generated message.
- Click the dropdown icon on the commit tab and select Commit to a new branch.
- Select the desired pipeline behavior.
- Enter a new branch name. Or leave it blank to use the generated name.
- Review the commit details and confirm by clicking Yes.
Creating a merge request
To create a merge request in the Web IDE:
- Commit changes.
- In the pop-up notification in the lower-right corner, select Create Merge Request. A new window opens for you to create the merge request.
To access missed notifications, on the status bar, in the lower-right corner, select the bell icon for a list of notifications.
Opening the code editor from merge requests
To open the Web IDE from a merge request:
- Go to your merge request.
- In the upper-right corner, select Code → Open in Web IDE.
The Web IDE opens new and modified files in separate tabs and displays changes side by side with the source. To optimize loading time, only the top 10 files (by number of lines changed) are opened automatically.
In the file tree, any new or modified file in the merge request is indicated by an icon next to the filename. To view changes to a file, right-click the filename and select Compare with merge request base.
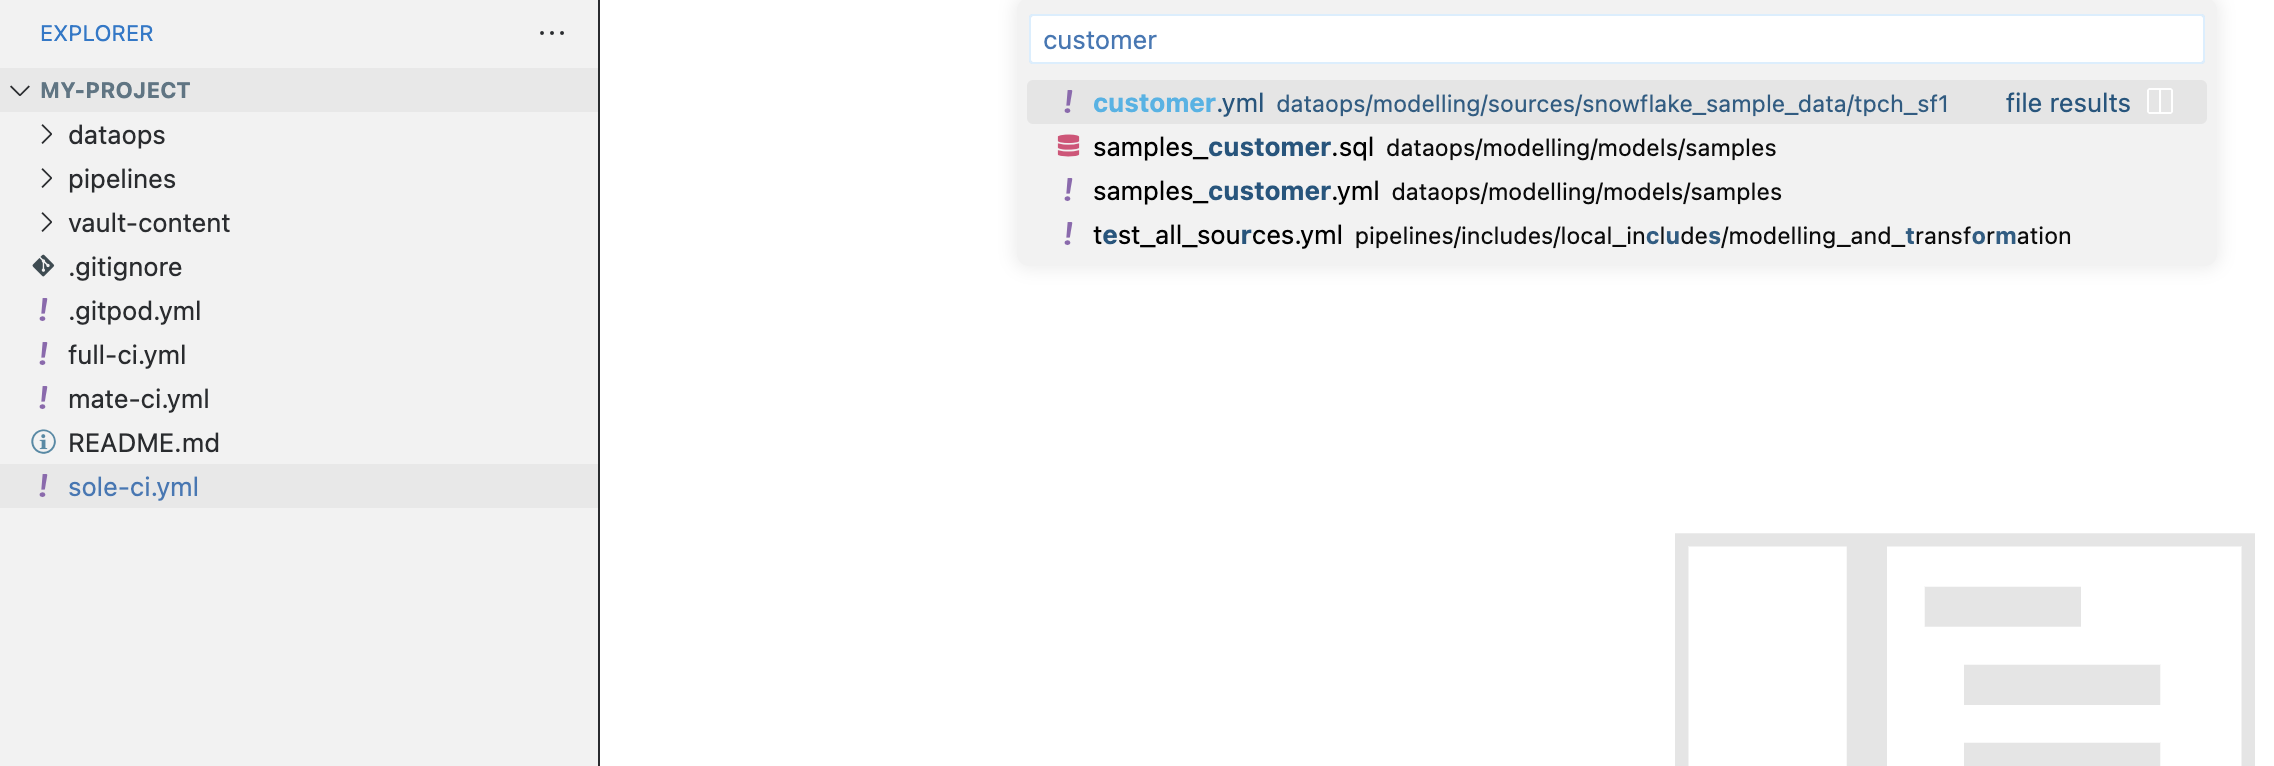
Opening a file in your project
To open any file by its name:
- Press
Command+P. - Start typing the name of the file.
- Select the file from the list.
Searching across files
You can use the Web IDE to search all files in the opened folder.
To search across files:
- Navigate to the search view, or press
Control+Shift+F. - Enter your search term.
In the Web IDE, only partial results from opened files are displayed.
Status bar
Here you can view the status of the latest pipeline of your current branch. You can click this item to navigate to the pipeline view.
If no pipeline has been run on the current branch, the status bar displays the latest commit instead.

Using the command palette
In the Web IDE, you can access many commands through the command palette. To open the command palette and run a command:
- Press
Shift+Command+P. - In the search box, start typing the command name.
- From the dropdown list, select the command.